How To Change Your Name Servers
If you need to know how to change your name servers then this blog post is for you…
If you used the free domain when signing up for your hosting you can skip this step. If you used HostYak then you will need to set your nameservers. This will tell the browsers what host to look at for your website files so when they go to your domain, they see your website.
In order to do this, you need to sign in to your HostYak account. Once you sign in you need to get to the “My Products” page and in the “Domains” section, click on Manage All. (The process will be close to the same for other domain registrars like GoDaddy, NameCheap, etc.)

The page that will take you to will have all of the domains that you own with HostYak. Click on your URL to get to the domain settings.
Go towards the bottom of the page and click on “Manage DNS”

This is going to take you to the DNS Management page. In the second section, you will see the “Nameservers” section.
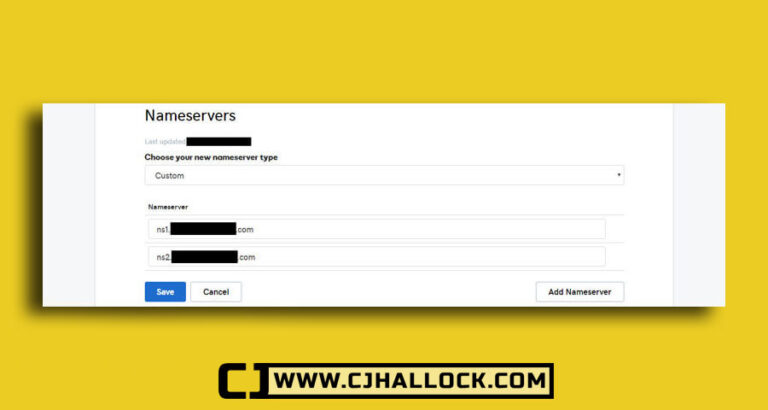
Click on change and then select custom and enter the nameservers for your hosting account.
If you are not sure what your nameservers are, you can call into your hosting account and they will be able to tell you what they are.
Fill in the nameservers and click on “Save”

If you are hosting with HostYak, once you have the hosting account setup you’ll need to call them to get your name servers… (480) 624-2500 – Be sure to have your customer number and call-in pin ready :)

